Have you ever started a task expecting its completion within minutes only to find it stretching far beyond your initial estimation? Research shows that individuals usually take three times longer than anticipated to complete a task. While this situation is frustrating during a first-time task, it’s even more aggravating when a familiar task exceeds the planned time allotment. Finding the labels you just printed are misaligned and have to be redone fall into this category. But misaligned labels cause more than frustration. They waste time, increase costs and if you don’t catch the error, detract from the visual appeal of your product, conveying a lack of attention to detail. This guide provides a comprehensive walkthrough on perfecting label printing alignment, addressing common challenges, and offering solutions to ensure precision and quality in your printed labels.
Understanding Printer Types and Label Formats
Making the proper alignment adjustments depends on a number of variables including the type of printer and label formats you use.
Printer Types
- Inkjet Printers: Ideal for high-quality color labels, inkjet printers work well for small to medium print volumes. They require careful alignment due to the ink's potential to smear, affecting the label's edges.
- Laser Printers: Known for speed and efficiency, laser printers are suitable for high-volume label printing. They demand precise alignment to avoid fusing issues that can lead to label jams.
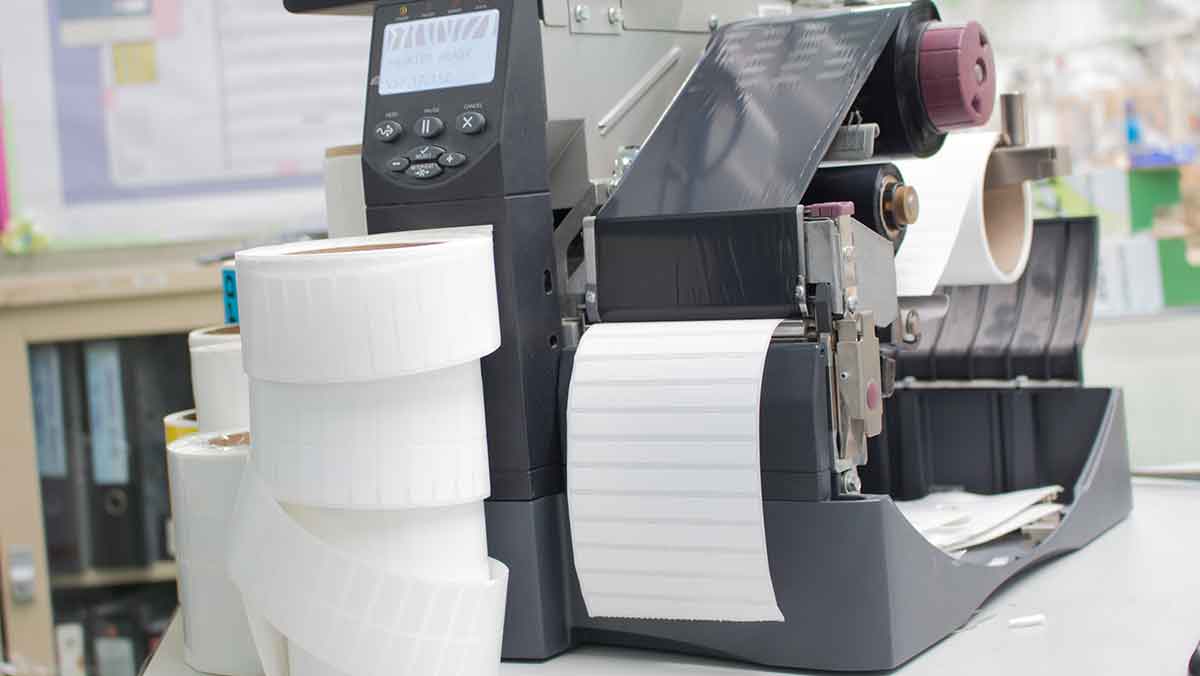
- Thermal Printers: Used in a vast number of labeling applications, especially for barcodes, thermal printers are energy-efficient, fast and portable. Alignment is crucial to ensure barcode readability.
Label Formats
From sheets to rolls and blank to pre-printed stock, different label formats present unique alignment challenges.
- Sheet labels are commonly used with inkjet and laser printers and require accurate printer tray alignment.
- Roll labels, typical of thermal printers, necessitate correct tension and roll alignment to avoid slippage and misprints.
Although blank stock items for common tasks like shipping, mailing, filing and other office functions build in margins that allow for any shifting that occurs during the printing process, a custom design requires additional safeguards. If you are using a color printer and a stock label format to create an item like a product label, make sure you take these steps.
- Paper Scaling - check print settings by opening the print dialog box and looking for the option to print actual size or 100% scale.
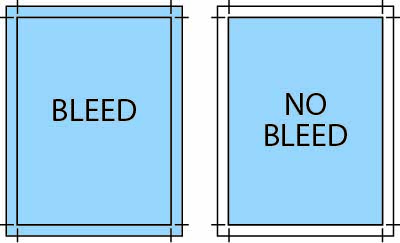
- Design optimization - use bleeds, a design that extends beyond the edge of the label format. This will allow the design to reach the edge of the format even if there is a slight shift during the feeding process.
Further, a custom-designed label requires additional scrutiny. The print output area for inkjet, laser and thermal printers varies which may impact your label design. For example, most printers can only print within ½” of the edge of the sheet. Make sure your design conforms to the output specifications for your printer.
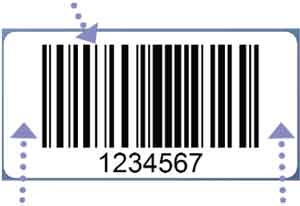
Also, if you are printing variable information, including barcodes, on a custom label, add at least 1/16” blank space around the design area. This will serve as a safety zone and accommodate any slight shifting that may occur.
The UAL Technical Services team can help you design a custom label that meets your specific printer requirements and processes trouble-free.
Click here for additional design tips!
Adjusting Printer Settings for Alignment
Regardless of the type of printer or label format you use, it’s important to check the printer settings before you select “print”. Check the:
- Page Size and Layout: Ensure your printer settings match the label sheet size. Incorrect settings can lead to partial prints or labels starting in the wrong position.
- Margins: Adjust margins to match the label's layout. This prevents text or images from being cut off.
- Printer Calibration: Use your printer's calibration function to align the print head properly. This is particularly important for new printers or after changing the ink or toner.
Label Materials
The label materials you choose can cause alignment challenges. Consider the following:
- Material Type: Glossy labels may require different printer settings compared to matte labels to avoid slipping during printing.
- Adhesive: Sometimes adhesive can build up on the printer roller which can cause the label to misalign. Following proper maintenance procedures including cleaning the rollers will prevent this problem.
Troubleshooting Common Alignment Issues
One of the most common label printer alignment problems occurs when you use the incorrect label format or template. So, before you explore other solutions, make sure the space required for your print output fits the format you selected.
In addition, these are other common alignment issues and steps you can take to remedy each one:
- Text Exceeds the Print Area - in addition to the wrong format, you may need to adjust the font size or reduce the amount of text information.
- Labels Printing Off-Center - check your printer's alignment settings and adjust the print head or tray alignment.
- Misalignment Across the Sheet - may indicate that the printer is not correctly calibrated. Perform a calibration test and adjust as needed.
- Uneven Label Placement - Ensure that the label sheets are correctly positioned in the printer tray and that the guides are snug against the sheets.
General Best Practices for Label Printing
Use these best practices to prevent alignment issues from disrupting your operation:
- Regular Maintenance - Keep your printer clean and well-maintained to prevent alignment issues caused by dust, debris or adhesive buildup.
- Software Updates - Ensure your printer drivers and label design software are up-to-date to avoid compatibility issues.
- Test Prints - Always perform a test print on a regular sheet of paper to check the alignment before printing on label sheets.
- Label Design - Design your labels with printer requirements in mind. Most printers only print within ½” inch from the edge of the label and may vary slightly from page to page. Make sure to design your labels with the proper tolerances.
UAL's Custom Label Designer uses templates that ensure your label is designed properly.
FAQs and Troubleshooting
Here are some of the most common questions and troubleshooting techniques when you experience printer alignment challenges:
- How do I align my printer for labels? Access your printer settings, select the correct label size, and adjust the margins. Use the printer's calibration function for fine-tuning.
- How do I adjust my printer to print labels? Check the printer preferences and ensure the media type is set to "Labels" or a similar setting that matches your label material.
- How do I calibrate my printer label? Most printers have a calibration option in the settings menu. Follow your printer's manual for specific calibration instructions.
- How do you place labels evenly? Use a label applicator for roll labels or ensure sheets are aligned correctly in the printer tray. Software alignment tools can assist with precise placement.
- How do I fix misaligned printing? Re-calibrate your printer, ensure the label sheets are loaded correctly, and check that your design aligns with the label template in your software.
United Ad Label
The importance of alignment in label printing cannot be overstated. By understanding your printer's capabilities, choosing the right materials, and adhering to best practices, you can overcome common alignment challenges and ensure that essential information, like barcodes, are fully visible and scannable. United Ad Label supplies stock and custom labels designed for inkjet, laser and thermal printers. Contact us to learn more.